
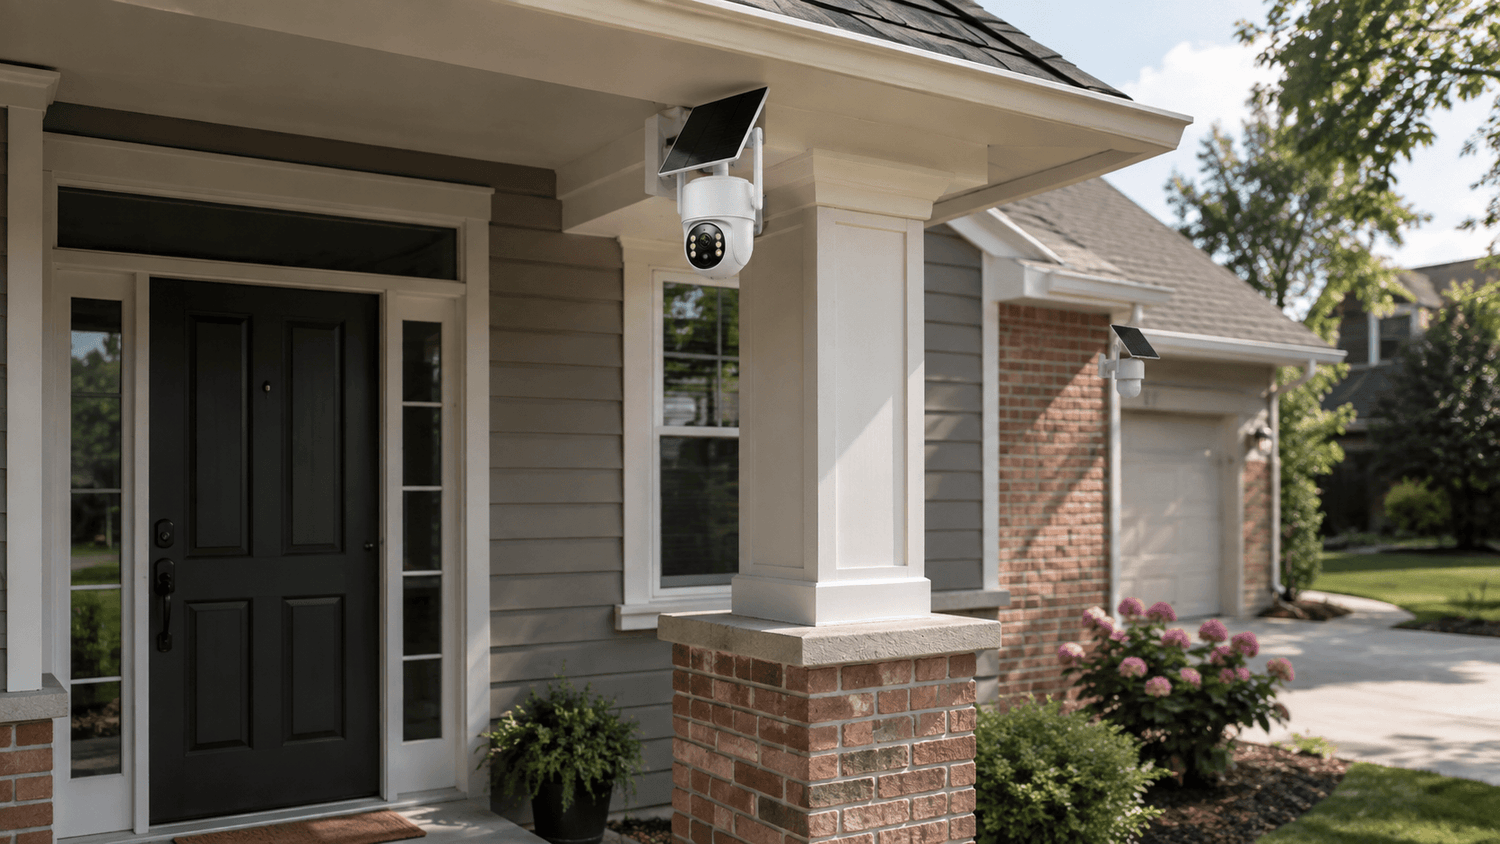
Installing an outdoor security camera is one of the simplest ways to improve your home's security. Whether you want to monitor your front door, driveway, backyard, garage, or side entrance, a properly installed security camera can help you keep an eye on your property day and night.
The good news is that modern wireless outdoor security cameras and solar-powered security camera systems make DIY installation much easier than traditional wired CCTV systems. With the right location, mounting height, power source, and camera angle, most homeowners can complete an outdoor security camera installation using basic tools.
In this guide, we'll explain how to install an outdoor security camera step by step, where to place it, how high to mount it, how to connect it, and how to test your system after installation.
What You Need Before Installing an Outdoor Security Camera
Before drilling holes or mounting your camera, take a few minutes to prepare.
Depending on your camera system, you may need:
- Outdoor security camera
- Mounting bracket
- Screws and wall anchors
- Drill or screwdriver
- Measuring tape
- Pencil
- Smartphone with the camera app
- Wi-Fi connection for compatible wireless cameras
- Power cable or solar panel, depending on the system
- NVR or monitor for systems that use local recording
For a solar-powered wireless security camera system, installation can be even simpler because there may be no long power cable or network cable to run.
For example, the Camcamp SC43 is a 100% wire-free solar security camera system that connects directly to its NVR for local viewing. It includes a 10.1-inch NVR monitor and 500GB HDD, while the outdoor cameras use rechargeable batteries and solar panels.
Step 1: Choose the Best Location for Your Security Camera
The most important part of an outdoor security camera installation is choosing the right location.
A high-quality camera cannot protect an area that it cannot see.
For most homes, prioritize these locations:
Front Door
Your front entrance is one of the most important areas to monitor. A front door security camera can help you monitor visitors, deliveries, packages, and suspicious activity.
Position the camera so that it captures both the approach to the door and enough facial detail to identify visitors.
Driveway
A driveway security camera can monitor vehicles, visitors, and movement approaching your property.
If your driveway is long, consider using a camera with a wide field of view or a PTZ camera that can cover a larger area.
Backyard
Backyards can contain several potential entry points, including patio doors, sliding doors, gates, sheds, and windows.
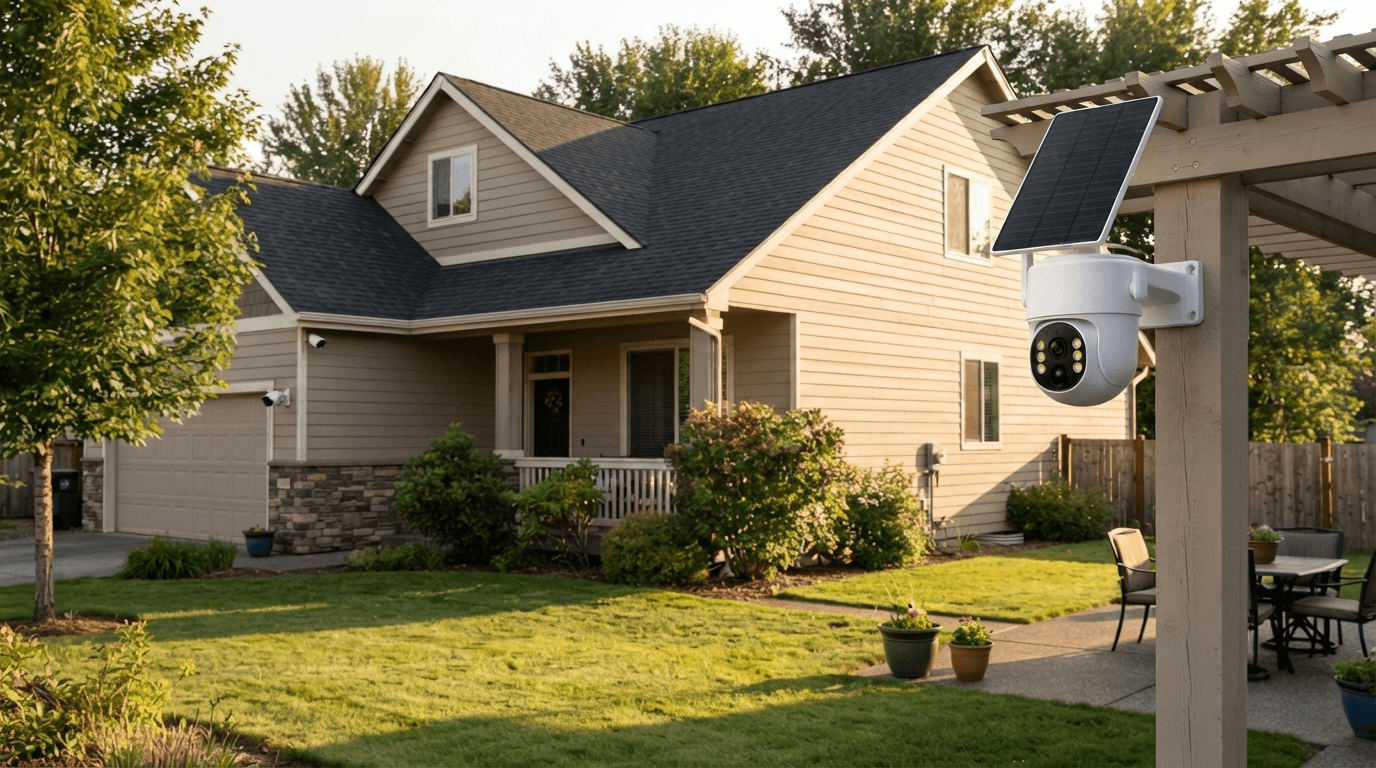
A solar outdoor security camera can be particularly useful in a backyard because it can often be installed without running a long power cable.
Side Gate or Entrance
Side entrances are easy to overlook when planning a home security camera system. A camera positioned toward a side gate can help eliminate blind spots around your property.
Garage
A garage security camera can monitor the driveway, garage entrance, vehicles, tools, and other valuable property.
Camcamp's own placement guidance recommends prioritizing areas such as the front door, driveway, backyard, side entrances, garage, and ground-level windows when planning outdoor surveillance coverage.
Step 2: Check the Camera's View Before Drilling
One of the most common security camera installation mistakes is drilling first and adjusting the camera later.
Instead, temporarily hold the camera at the intended mounting location and check the live view.
Look for:
- Entry points
- Walkways
- Driveways
- Doors and gates
- Windows
- Areas where people are likely to move
- Potential blind spots
Avoid pointing the camera directly toward strong sunlight whenever possible. Direct sunlight can create glare and reduce image quality.
Also check for objects that could obstruct the view, including tree branches, fences, roof structures, flags, and outdoor decorations.
For motion detection cameras, positioning matters as well. Movement across the camera's field of view can often be easier for motion sensors to detect than movement directly toward the lens.
Step 3: Choose the Right Mounting Height
How high should an outdoor security camera be installed?
For many residential installations, 8–10 feet (2.5–3 meters) above the ground is a practical starting point. This height provides a useful viewing angle while making the camera more difficult to reach or tamper with.
However, the exact height depends on the camera model and the area being monitored.
Avoid mounting the camera excessively high.
A camera mounted too high may provide a large overall view but capture less useful facial detail. A slightly downward-facing angle is generally preferable for entrances and walkways.
The goal is to find a balance between:
Security + field of view + identification + motion detection.
Step 4: Mark and Drill the Mounting Holes
Once you have confirmed the location, use the mounting bracket as a template.
Mark the screw holes with a pencil.
The correct installation method depends on your wall material.
Wood or Vinyl Siding
A standard screwdriver or drill may be sufficient depending on the mounting hardware.
Brick or Concrete
Use an appropriate masonry drill bit and install the supplied wall anchors before securing the bracket.
Stucco
Use appropriate anchors designed for stucco surfaces and avoid damaging the exterior finish.
Make sure the mounting bracket is firmly attached before installing the camera.
A loose bracket can cause camera vibration, unstable footage, or gradual changes in viewing angle.

Step 5: Install the Outdoor Security Camera
After the bracket is securely mounted, attach the camera according to the manufacturer's instructions.
Make sure the camera is firmly secured and does not move when gently touched.
For a wireless security camera, confirm that the camera has sufficient battery power before completing the installation.
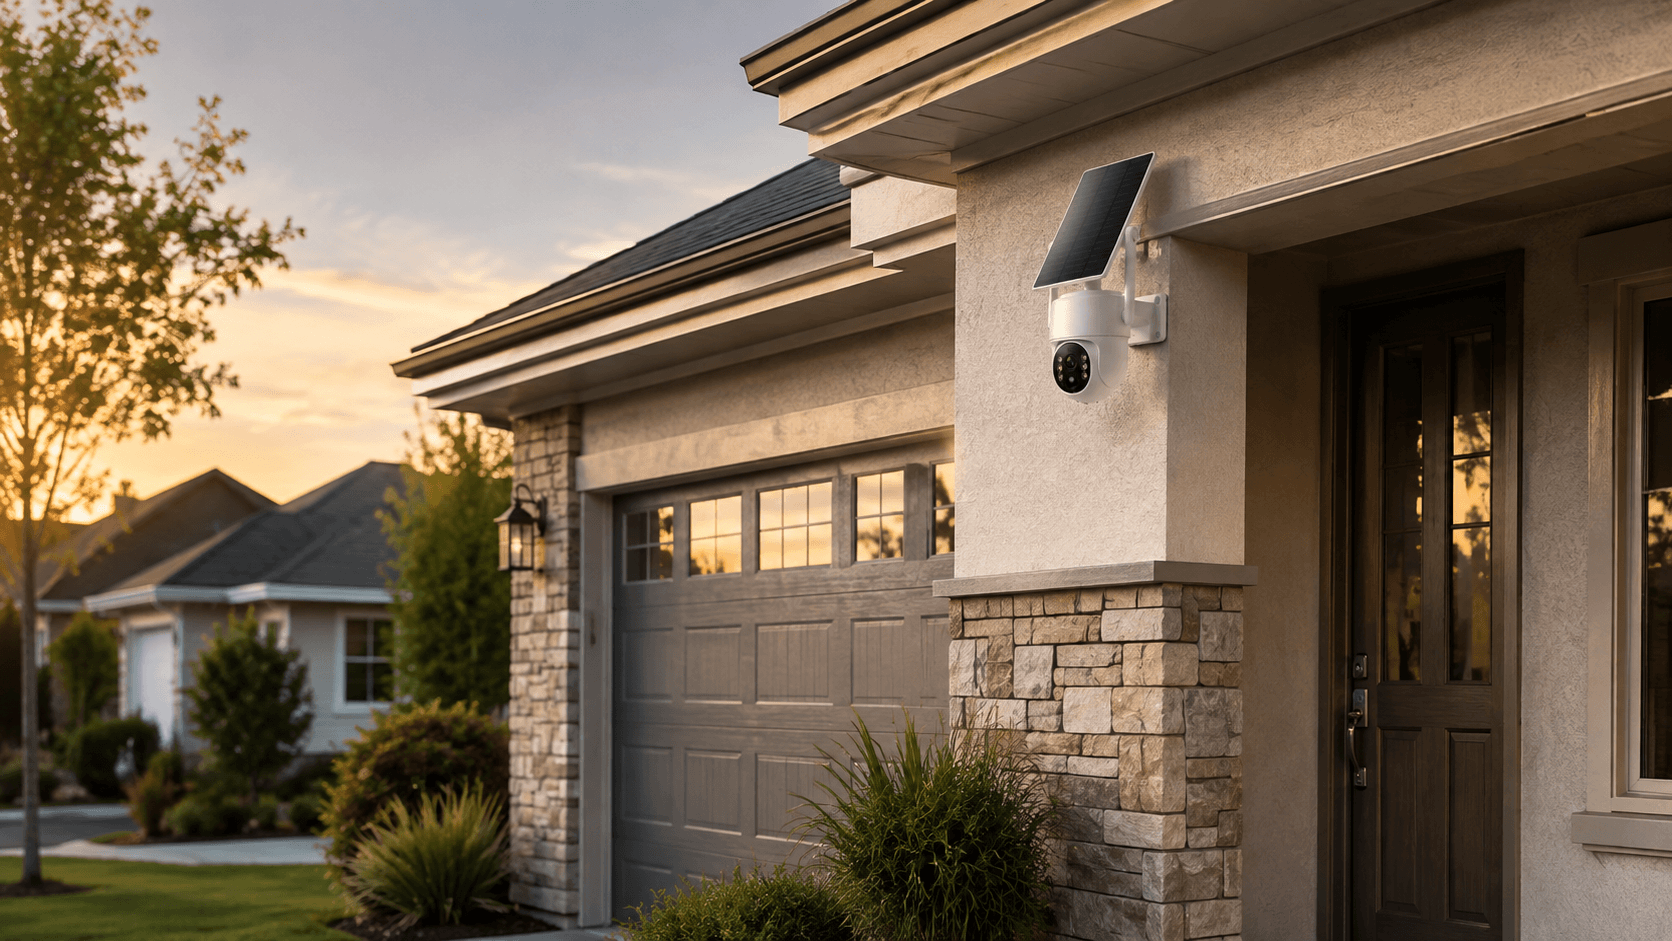
For a solar security camera, install the solar panel where it can receive adequate sunlight throughout the day.
The solar panel should not be blocked by:
- Roof overhangs
- Trees
- Walls
- Large structures
- Other objects that create prolonged shade
For Camcamp's SC43 system, each camera uses a rechargeable battery and a 4W solar panel, with the system designed for wire-free outdoor installation.

Step 6: Connect the Camera to Your Security System
The connection process depends on the type of outdoor security camera system you have.
Wi-Fi Security Cameras
For a Wi-Fi outdoor security camera, use the manufacturer's mobile app to connect the camera to your home network.
Before permanently mounting the camera, confirm that the Wi-Fi signal is strong enough at the installation location.
If the signal is weak, consider moving the camera closer to your router or improving your home's Wi-Fi coverage.
Wireless NVR Security Camera Systems
Some wireless security camera systems use a dedicated NVR rather than relying entirely on your home Wi-Fi network.
This can simplify installation because the cameras can communicate directly with the NVR.
For example, Camcamp SC43 cameras connect directly to the NVR for local viewing, so Wi-Fi is not required for basic local viewing. Internet access is used for remote app functionality.
Wired PoE Security Cameras
PoE security cameras use Ethernet cables to transmit both power and data.
They are often preferred for permanent installations where reliable wired connectivity is important, but installation generally requires more cable routing than a wireless security camera.
Step 7: Adjust the Camera Angle
Once the camera is connected, open the live view and adjust the viewing angle.
For a front door camera, make sure you can see:
- The area leading to the front door
- The visitor's upper body and face
- The porch or package delivery area
- Nearby access points
For a driveway camera, make sure the view includes the driveway entrance and the areas where vehicles normally approach.
For a backyard camera, prioritize doors, gates, paths, and other potential access points.
Don't simply maximize the amount of property visible.
A smaller, well-positioned field of view can be more useful than a huge image filled with irrelevant areas.
Step 8: Configure Motion Detection and Recording
Modern home security camera systems often include motion detection and customizable detection zones.
After installation, configure the camera based on the area you actually want to monitor.
For example, if a driveway camera also sees a busy road, you may receive unnecessary alerts every time a vehicle passes.
A customizable detection zone can help focus alerts on your driveway rather than the street.
Camcamp systems such as the SC43 include smart motion detection and customizable detection areas designed to help reduce unnecessary alerts.
You should also configure:
- Motion sensitivity
- Detection zones
- Recording mode
- Alert notifications
- Recording duration
- Night vision settings
- Camera name and location
Step 9: Test the Camera During the Day and at Night
Never assume your security camera installation is complete immediately after the camera appears online.
Test it during both daytime and nighttime conditions.
During the day, check:
- Image sharpness
- Viewing angle
- Motion detection
- Blind spots
- Backlight
- Reflections
At night, check:
- Night vision clarity
- Dark areas
- Motion detection
- Glare
- Lighting around entrances
Walk through the monitored area yourself and verify that the camera records the movement correctly.
If you cannot clearly see what you need, adjust the camera before considering the installation finished.

Step 10: Secure and Maintain Your Outdoor Security Camera
Your installation is not finished once the camera is working.
For connected security cameras, use a strong account password and enable two-factor authentication when supported.
Keep the camera firmware and mobile app updated.
You should also inspect outdoor cameras periodically.
Check for:
- Dirt on the lens
- Spider webs
- Leaves and branches
- Water or moisture
- Loose mounting screws
- Solar panel obstruction
- Changes in camera angle
For solar-powered security cameras, keep the solar panel relatively clean and free from heavy shade.
Regular maintenance helps your home security camera system continue performing properly throughout the year.

Common Outdoor Security Camera Installation Mistakes to Avoid
Even the best outdoor security camera can perform poorly if it is installed incorrectly.
1. Installing the Camera Too High
An excessively high camera can make faces difficult to identify.
2. Pointing Directly Into the Sun
Strong backlighting can reduce image quality and create glare.
3. Ignoring Blind Spots
Covering the front door but ignoring a side gate can leave an important entry point unprotected.
4. Installing a Wi-Fi Camera Where the Signal Is Weak
Always test wireless connectivity before permanently mounting the camera.
5. Blocking the Solar Panel
Trees, roof structures, and other obstacles can reduce available sunlight.
6. Forgetting About Nighttime Performance
A camera that looks excellent during the day may have a completely different image at night.
7. Installing Too Many Cameras Without Planning
More cameras do not automatically mean better security. The goal is strategic coverage of important entry points.
Why Choose a Wireless Solar Security Camera System?
For homeowners who want a simple DIY security camera installation, wireless solar systems can offer several advantages.
A traditional wired camera system may require power cables, network cables, wall penetrations, and more complicated installation.
A wireless solar security camera system can reduce this complexity.
The Camcamp SC43, for example, combines solar power, wireless cameras, an NVR, local storage, 2.5K/4MP video, color night vision, motion detection, two-way audio, and expandable camera capacity in one system.
This makes it suitable for monitoring:
- Front doors
- Driveways
- Backyards
- Garages
- Side gates
- Farms
- Vacation homes
- Large residential properties
For homeowners who want outdoor security cameras without complicated wiring, a solar-powered wireless system can be a practical option.
FAQ About Outdoor Security Camera Installation
How high should an outdoor security camera be installed?
A common recommendation is approximately 8–10 feet above the ground, although the ideal height depends on the camera, property layout, and viewing angle. The camera should be high enough to discourage tampering while still capturing useful facial detail.
Where is the best place to install an outdoor security camera?
The front door, driveway, backyard, garage, side gate, and accessible ground-floor windows are among the most useful locations. Prioritize areas where someone could enter or approach your property.
Can I install an outdoor security camera myself?
Yes. Many modern wireless and solar-powered security camera systems are designed for DIY installation. Basic tools such as a drill, screwdriver, screws, and wall anchors are usually sufficient. Always follow the specific manufacturer's installation instructions.
Do wireless outdoor security cameras need Wi-Fi?
Not necessarily. Some Wi-Fi cameras require a home network for operation, while certain wireless NVR systems use a direct camera-to-NVR connection. For example, Camcamp SC43 does not require Wi-Fi for local viewing, although internet access is needed for remote app functions.
Are solar-powered security cameras reliable?
Solar-powered security cameras can be a convenient option when the solar panel receives adequate sunlight. Systems with rechargeable batteries can store energy for periods when sunlight is limited.
How many outdoor security cameras do I need?
It depends on your property size and layout. Instead of choosing a specific number first, identify your main entry points and potential blind spots. A typical home may need cameras covering the front entrance, driveway, backyard, and side access points.
Should outdoor security cameras face the street?
A camera can capture areas around your property, but it should primarily be positioned to protect your own home and property. Be mindful of neighboring properties, private spaces, and applicable privacy laws.
Final Thoughts
Learning how to install an outdoor security camera doesn't have to be complicated.
The most important steps are:
Choose the right location → check the viewing angle → mount securely → connect the camera → adjust the angle → configure motion detection → test day and night → maintain the system.
For homeowners looking for an easier installation experience, wireless outdoor security cameras and solar-powered security camera systems can eliminate much of the cable routing required by traditional surveillance systems.
A properly planned home security camera system is not simply about installing cameras everywhere. It's about placing the right cameras in the right locations so that important entrances, driveways, yards, and blind spots are properly covered.
With thoughtful placement and regular testing, your outdoor security camera system can provide clearer footage, smarter alerts, and more dependable property monitoring.
Ready to simplify your outdoor security setup? Explore Camcamp's wireless and solar-powered security camera systems for a flexible DIY solution.

Leave a comment
This site is protected by hCaptcha and the hCaptcha Privacy Policy and Terms of Service apply.