
In the ever-evolving landscape of security and surveillance, IP cameras have emerged as indispensable tools, offering advanced features and flexibility for monitoring homes, businesses, and public spaces. Integrating these cameras with a PC expands their capabilities, enabling users to access live feeds, record footage, and manage settings remotely. If you're embarking on the journey of setting up a security IP camera system and connecting it to your PC, this detailed guide will provide comprehensive insights and step-by-step instructions to ensure a seamless integration process.
Choose Compatible IP Camera

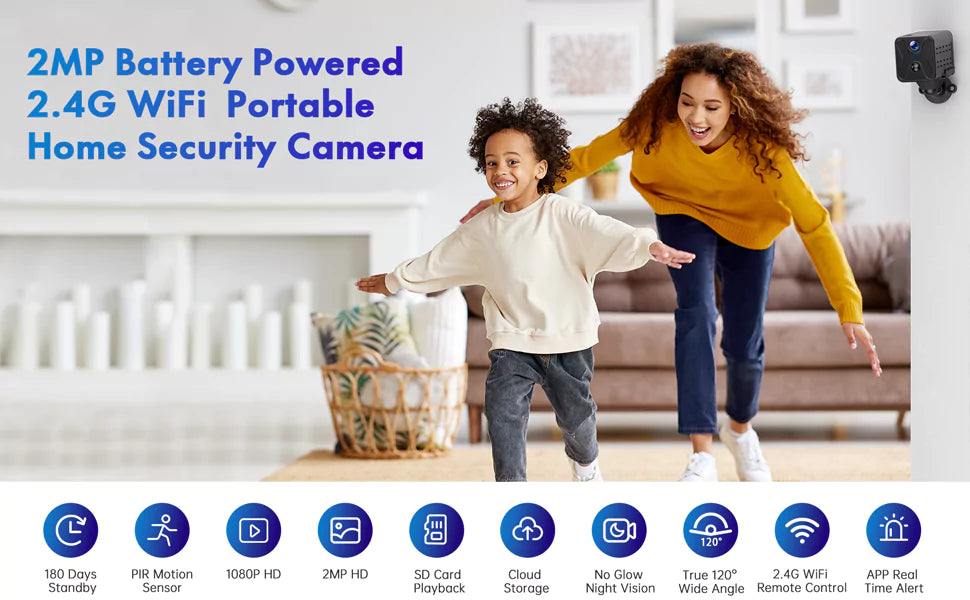
Selecting the right IP camera is paramount to the success of your surveillance system. Consider aspects such as resolution, field of view, night vision capabilities, weather resistance, and connectivity options. Ensure compatibility with your PC's operating system and network infrastructure. Research thoroughly and choose a camera that meets your specific security requirements and integrates seamlessly with your PC.
Install Surveillance Software

To harness the full potential of your security IP camera system on your PC, you'll need surveillance software. There's a plethora of options available, ranging from free to paid solutions, each offering its unique features and functionalities. Some popular choices include Blue Iris, iSpy, ZoneMinder, SecuritySpy, and many more. Evaluate the features, compatibility, and user interface of different software options before making your selection.
Connect Camera to Network

Once you've chosen your IP camera, it's time to connect it to your local network. Most IP cameras support both wired and wireless connections. For a wired connection, use an Ethernet cable to connect the camera to your router or a network switch. If opting for a wireless connection, configure the camera to connect to your Wi-Fi network using the camera's setup interface. Ensure a stable network connection to facilitate seamless communication between the camera and your PC.
Assign IP Address

Assigning a static IP address to your IP camera is essential for consistent and reliable communication within your network. Access the camera's configuration interface through a web browser on your PC, and navigate to the network settings. Assign a static IP address that aligns with your network subnet and does not conflict with other devices on the network. Take note of the assigned IP address for future reference.
Add Camera to Surveillance Software

Launch the surveillance software on your PC and initiate the process of adding a new camera or device. Enter the camera's IP address, username, and password as prompted by the software. Follow the on-screen instructions to complete the setup process. The software should detect the camera on the network and establish a connection for live viewing and recording purposes.
Configure Camera Settings

Once the camera is successfully added to the surveillance software, it's time to fine-tune its settings to suit your preferences and security needs. Adjust parameters such as image quality, resolution, frame rate, motion detection sensitivity, recording schedules, and storage options. Customize settings to optimize performance and ensure efficient use of network and storage resources.
Test Camera Functionality

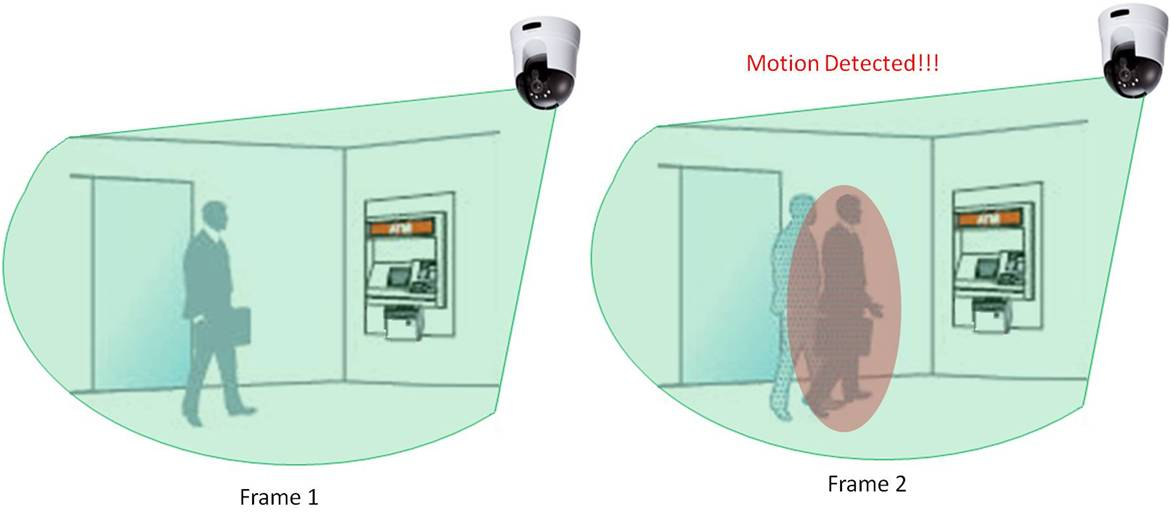
Before deploying your security IP camera system in a real-world scenario, conduct thorough testing to ensure everything is functioning as intended. Verify that the camera streams live footage to the surveillance software interface without any glitches or delays. Test motion detection capabilities by triggering events within the camera's field of view. Verify recording functionality and remote access features to ensure seamless operation across different devices and platforms.
Monitor and Manage Footage

With your security IP camera successfully connected to your PC, you're now equipped to monitor and manage footage conveniently from a centralized location. Utilize the surveillance software to access live streams, review recorded footage, and adjust camera settings on-the-go. Set up alerts or notifications to receive instant updates on triggered events, enabling proactive responses to potential security threats or incidents.
Connecting a security IP camera to your PC opens up a world of possibilities for comprehensive surveillance and monitoring. By following these eight comprehensive steps and leveraging the advanced features of your IP camera and surveillance software, you can create a robust security system tailored to your specific needs and preferences. Whether for residential security, commercial surveillance, or public safety applications, a well-integrated IP camera system offers peace of mind and protection in an increasingly interconnected world.
Leave a comment
This site is protected by hCaptcha and the hCaptcha Privacy Policy and Terms of Service apply.